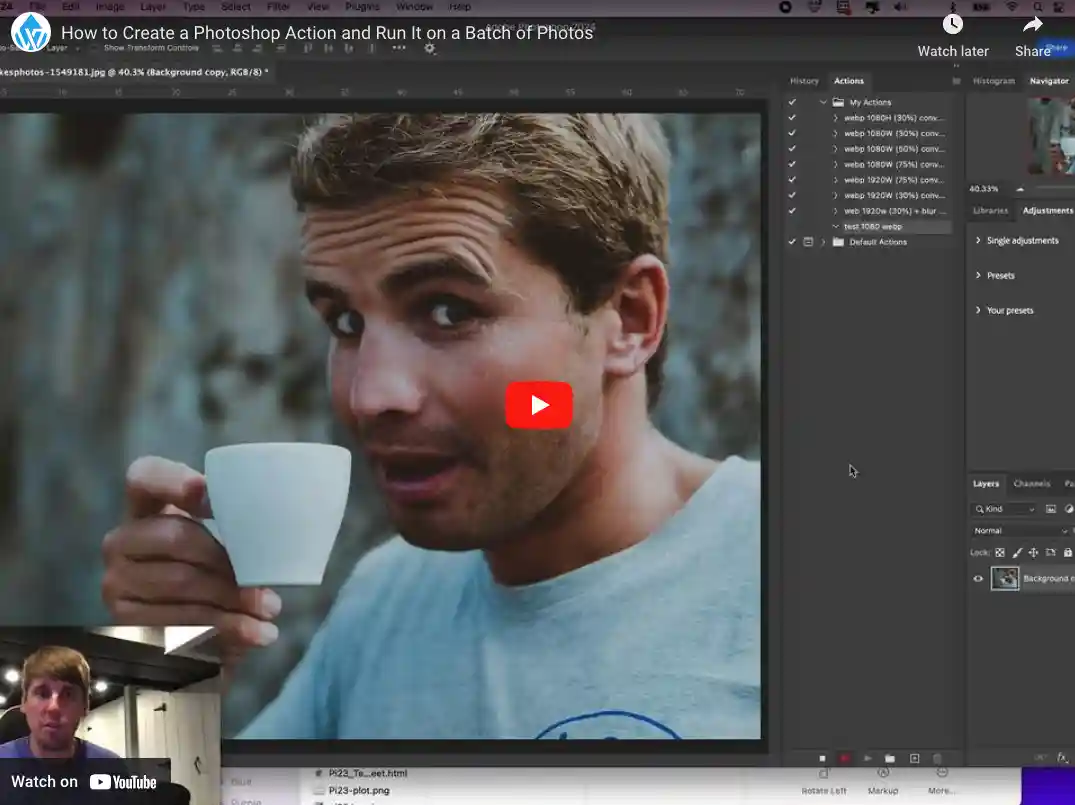
In this video, learn how to make a Photoshop action and use it to edit a whole batch of photos at once! 🎉 Photoshop actions can save you tons of time by doing the same edits on many pictures quickly. Watch along as we create an action step-by-step, then run it on a bunch of photos in just a few clicks. Perfect for beginners or anyone who wants to make photo editing faster and easier!
Table of Contents
Here’s a step-by-step guide on creating a Photoshop action and running it on a batch of photos (video 1 of 2)
Step 1: Open Photoshop and Load a Photo
- Open the photo you want to use for creating your action in Photoshop.
Step 2: Open the Actions Panel
- Go to Window > Actions to bring up the Actions panel.
Step 3: Create a New Action
- In the Actions panel, click the + (plus) icon or select New Action.
- Name your action (e.g., “My Batch Edit”) and click Record. Photoshop will start recording your steps.
Step 4: Perform Edits
- Make any edits you want to apply to all your photos (e.g., brightness, contrast, resizing).
- Everything you do will be recorded as part of the action.
Step 5: Stop Recording
- When you’re done with your edits, click the Stop button in the Actions panel.
- Now, you have a saved action that you can apply to other photos.
Step 6: Set Up Batch Processing
- Go to File > Automate > Batch.
- In the Batch dialog box:
- Choose your new action from the Action dropdown.
- Select the Source Folder where your photos are saved.
- Choose a Destination Folder to save the edited photos.
Step 7: Run the Batch Process
- Click OK. Photoshop will automatically open each photo, apply your action, and save the results in the destination folder.
Step 8: Check Your Edited Photos
- Go to the destination folder to see your photos with the applied edits.
That’s it! Your action is now applied to all your photos in one quick process.


0 Comments